Followers

Tuesday, December 24, 2013

Merry Christmas Everyone.


Hello Everyone,
I hope you are enjoying the holiday season.
Yesterday I decided that I would take my mini skills and used them in a different project. I have always admired other peoples gingerbread houses and thought if I can make a dollhouse surely I can make a gingerbread one. Well the photo on the left is my 2nd ever attempt. Not too shabby, however, don't look too close!

Here are my tips: HE HE!

1. There are too many recipes on the internet...chose one quickly...you will be overwhelmed by choice and ingredient lists with lots of things possibly never found in any supermarket ANYWHERE!

2. Make a template that isn't out of paper...it sticks....and it sticks. Greaseproof paper works. Flour is your friend, use it when rolling out the gingerbread.

3. If you plan to light your house (which I did) make sure your house is big enough for the fixture. I cut a hole in the bottom of mine with a cookie cutter.

4. Icing is your friend! It's a bit like builders bog...you can used it to fill the gaps.(Believe me I had lots!)

5. If you are lazy like me....and are not a dab hand at using a piping bag, buy your icing from the shops. It even comes with fancy tips to make all sorts of patterns. ( Is icing meant to come out the other end of the bag?)

6. There is an icing conspiracy :) when buying icing make sure you buy double. I needed white...and I am sure that the container of white had half the amount of any other container in the packet. The bright blue icing that I didn't want to use would have gone on an on and on etc.

Anyway, you get my point! It's fun to make.

These are the little lights I purchased this year. They are LED tea lights. They are fantastic...and only a couple of dollars for 4. I used these in the gingerbread houses and to light my Christmas village.
The lights are on the village!
My last picture today is of my eldest and now sadly only dog Willow. She wasn't too keen on the hat, but wouldn't mind a mince pie or a piece of cake.

Well everybody I hope you have a safe Christmas/holiday season.

Talk soon,
IndyPoppy

Thursday, December 19, 2013

Thankyou


Hello Everybody,

I firstly want to thank everyone for their lovely thoughtful comments about the death of my great dane Indy. It has been a rough couple of weeks, but your comments are much appreciated.


Over the past few weeks the postman has been very busy delivering a few giveaway items and a recent purchase.


This lovely garden tub came from a giveaway from Mi Pequena Evasion http://pekevasion.blogspot.com. I love the way that it has been aged and really like the realistic look of the water.


 Hannah from www.hannahsminiatyrer.blogspot.se also announced the winner of her VW bus guessing competition. I was so surprised to find that it was me! It is an absolutely wonderful mini VW. It is teeny tiny! Hannah I don't know how you made it so tiny with so much detail. Hannah also included a lovely wool dog. Here is an action shot of the puppy.
 Another surprise is from http://eatcakeminiatures.blogspot.com. It is a red rose flower kit. I haven't been game enough to give it a go yet, but now that I am on holidays it is on my "to do" list. Which is getting longer and longer with many miniature projects.


 My last photo is of a new purchase. I own an O gauge train set that would look fantastic with a little township so I finally found one. These little villages are very hard to find in Australia but I was lucky to find one from an online shop called Halcyon Hours. It was one of the last ones of this type in stock.. Thanks Halycyon Hours for sending it so quickly.

If you know of any other Australian stockists I would love to hear from you.  I am now after the other two sets!

I will start to work on it over the weekend. I realise I won't get anywhere near completing it by this Christmas. Maybe next year! I'm debating if I should create it in the putz style or if I should keep it traditional. What do you suggest? Any ideas?

I hope to post again before Christmas...but there is lots to do...talk soon
IndyPoppy


Monday, December 9, 2013

A Sad Farewell.

Hello Everybody,
I know it has been a while since I blogged about my house but again real life has taken over from my mini life.

You may remember from my previous post I discussed my great dane being ill. A few weeks ago Indy was diagnosed with bone cancer. Sadly over the past few weeks Indy had been getting sicker and sicker.  So on Saturday I said goodbye to  my "fur kid".

She was a great dog, very affectionate and will be missed terribly.

IndyPoppy

Monday, October 7, 2013

Cladding Tips.

 Hello Followers,
Today I thought I would write down one or two tips I discovered whilst attaching the cedar cladding to my Victorian Dollhouse. Remember you are using cutting equipment so be incredibly careful. Safety First!!!!


Things You will need:
- Cladding (and lots of it...more than you think you need!)
- PVA (wood glue)
-Small brush (not your best...but not your worst either)
- Metal ruler
-Easy Cutter (honestly the best tool I have ever purchased...definitely got my money's worth)
- Stanley knife
-Small cutting board
-Pencil
-Masking tape

Step 1:
Start at the bottom of your house and line up your piece so that it is level with the base of the house. I would stay away from too much overlap as I can see future accidents occurring with it, it could easily be ripped off.

TIP: If you can place your house face up it is easier to clad!

Step 2:
I started from the left side of my house and move across to the right of my house with the cladding. If your piece is not long enough. Don't stress. Start your new piece and cut when necessary. I place the new piece on (dry fit) and place a small pencil line on where it needs to be cut.

TIP: I used a small brush to place the glue on each piece, I do not place glue on the rebate! Too much glue will stop the rebate keeping your cladding straight.


You will have joins. But as long as both pieces are straight you will get a tight join.


TIP: Make sure your joins are staggered and that you don't have a join above a join!

 This picture shows the indent in the cladding, it faces towards the house and down. It will help to accurately place your next piece above.
TIP: Use the easy cutter with the claddings rebate away from you. (This tip may work for you as I found with 90% of my cuts, it stopped the cladding from cracking.)

TIP: Masking tape is your friend...you will use it heaps! It allows you to secure your cladding and keep it flush against your house. 
TIP: When cutting the cladding try to avoid cutting anything under an inch...in some cases this is unavoidable but most of my smaller cuts split the cladding. (Sometimes...turning the cladding over and cutting from the rebate side is worth a try on pieces prone to splitting)
Step 3:
Window openings require a little maths, but nothing too hard. I place the new piece across the window.

Step 4:
Mark where the piece crosses the window on the actual house first. Then place a small mark on cladding to show spot where window starts.


Step 5:
Remove the piece and measure on your house how far it is from the window mark to the bottom of the window sill. Transfer this measurement to the top of your cladding piece and cut. I use the easy cutter for the vertical cuts and a Stanley knife for the horizontal. Use your metal ruler as a guide...but be careful !!!! (Don't forget that these pictures show what to do with the bottom of a window but you use the same sort of method for the top)

TIP: The rebate is great, make sure you have no gaps between it and your next piece. It only takes one piece being crooked for the whole lot to be wonky. (trust me....I had this happen a couple of times)
Step 6:
Glue and tape.
 Step 7:
If your lucky you wont have many splits but if you do. Place a small amount of glue in the crack, wipe it gently and tape ensuring it is straight first.

Step 8:
Continue cladding until your reach the top!

TIP: Some kits come with corner covers (not quite sure what their actual name is.) I would still encourage cladding to the corners. It would be extremely frustrating to find at the end that your corners didn't quite cover.

TIP: I'm planning on painting the house before attaching the corner components as it will be tricky to get a nice finish.


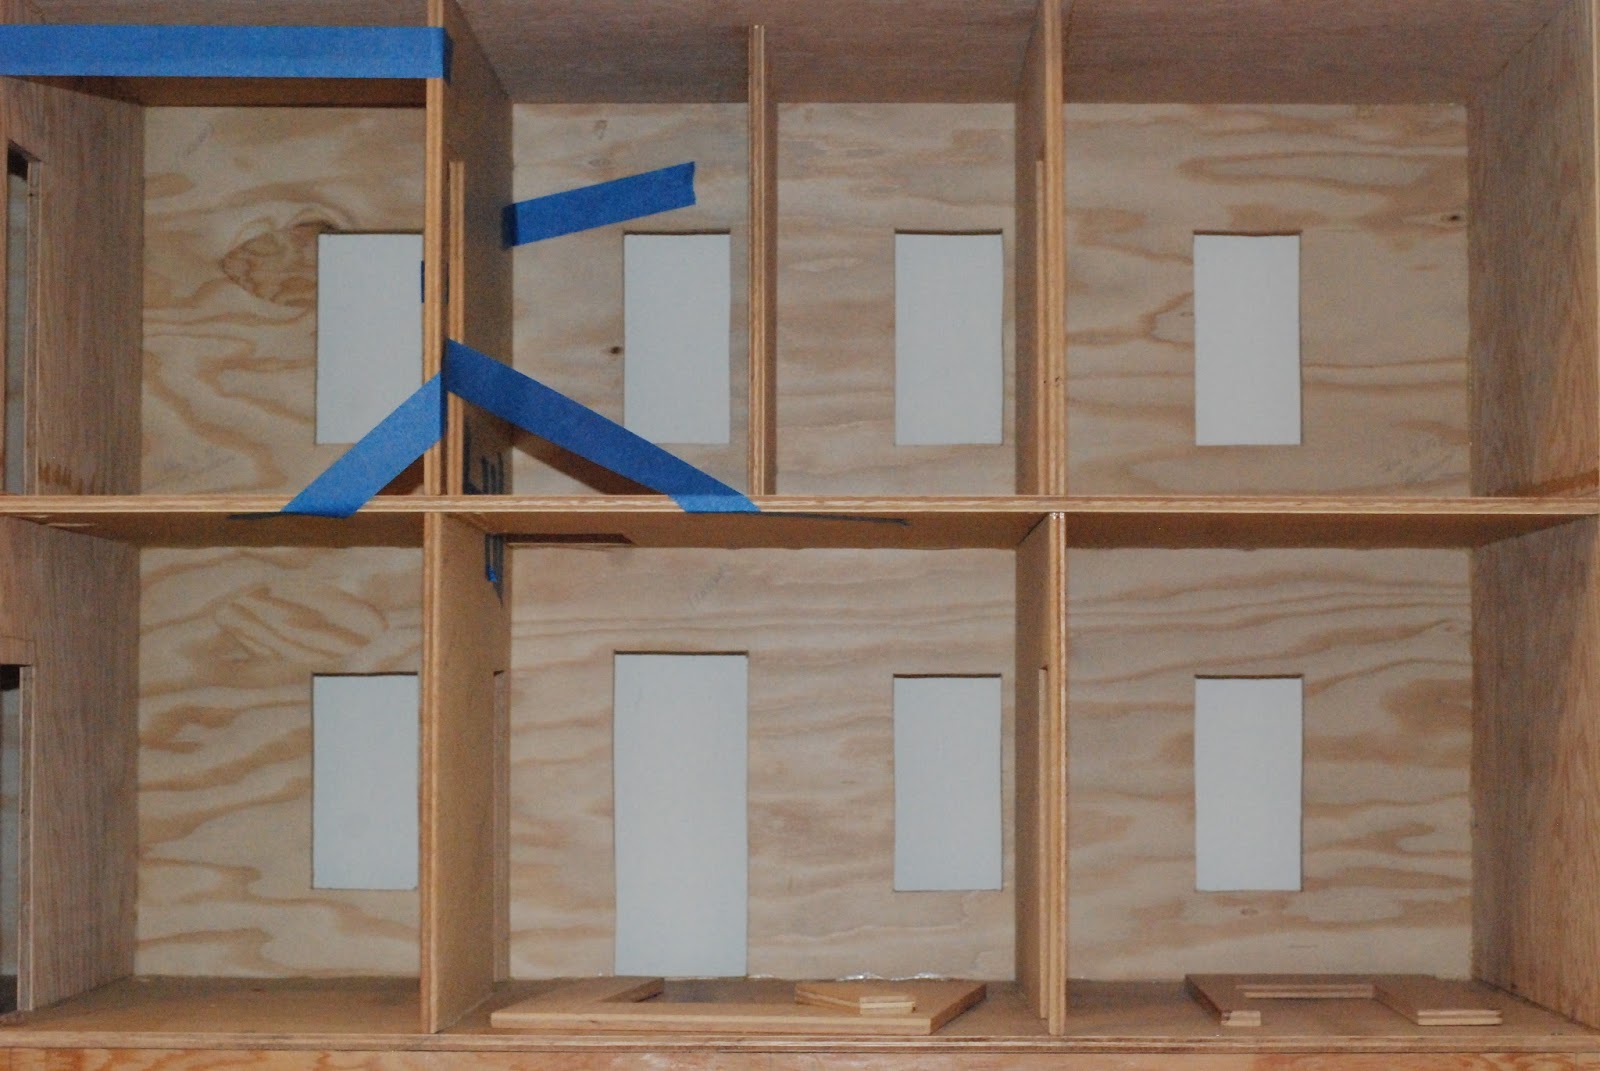
Here is a shot of the tower...notice all the tape? It is extremely useful for those teeny pieces that just won't sit. I used painters tape and found it was very easily removed.

So friends...be prepared. What I have done so far has taken hours (really probably days) and I still haven't finished. Take your time and if you are tired, stop!!!!!! A tired crafter is an accident waiting to happen! I managed to cut my hand on a drill that was not working....just sitting on the bench!

I'd love to hear from you about your experiences with cladding....any tips or trick you would like to share would be great!

IndyPoppy

Sunday, September 29, 2013

Unhinged!

Back of house with cladding completed to main house
This week saw more progress on the house. In order to clad the entire house both the front doors needed to be attached. I started this week by cladding the back wall. The cladding was relatively easy to use as it comes with a pre cut rebate so that each piece sits perfectly on the next. It is easily cut also with my super dollhouse scissors.
 
Can you see the little hinges?
As you can see from my title for this weeks post, we had a few issues with the hinges. At first we thought that we could use a 30cm piano hinge. After placing and attaching it to the front of the house we found we had a problem. The door seemed to drop badly out of alignment and had a bit of a wobble. Probably not a problem except we thought if it has a wobble now....how wobbly would it be with cladding and doors and windows...EEKKKK... time to try another hinge.
After a trip to the hardware we found 3 semi industrial hinges per door. After measuring..thinking an measuring again we put them in. Who would have thought that a small hinge would be so much more stable than a giant one.
As you can see the cladding has various  colours. Which doesn't matter as I plan to paint it anyway.


Another shot of the hinges. We had to put a small rebate in the tower so that it sat snugly against the main house. The cladding will cover it so on this side you won't even see the door hinges.


Side shot.

Tower roof being glued. Dewalt power tools again being used for their original purpose...to put some weight on it.


Another side on shot.
I'm pretty pleased with the process so far...I unfortunately think though that I definitely suffer from "Mini-itis" as soon as I complete a step...I'm thinking about at least the next ten steps I'd like to do.
I'm sure I'm not the only one suffering from this condition. I'd love to hear about your projects that you have become obsessed with.

IndyPoppy


Sunday, September 22, 2013

A Mini Mini!

 Hello everybody,
This week saw a little more completed on the Victorian House. The front is almost up to the point that I can start to clad it. Again we had a few issues to deal with as more pieces were found to be missing.
My next picture shows what windows that were included in the kit. So many windows to paint...at least they are made so that you can take the "glass" out first.
I also finally decided on the fireplaces for the house. As I was so happy with the result of my purchase from Phoenix that I bought these from them also. I  think they will work well, but I was a little disappointed that one got bent in the mail... seriously you have got to wonder if there are elephants jumping on any mailbox.
I'm now stuck on what surround to use...eeek so much to choose from..
 My next photo is of one of my (well not really mine....but my boyfriends) new mini model. My Mum knows how much my boyfriend is into Mini's so when she went to the UK she came back with this. At first glance I had thought...well its super cute...lots of detail...let's get it out of the box! But no, alas my boyfriend says it has to stay in its box! After lots of pleading, he said I could get the tools out...but everything else had to stay in "mint condition".


Mum then went on to say that it happened to be in a dollhouse shop. Interesting I thought...then on the box...there was the magic number.....it's 1/12th.....a Dollhouse sized Mini!
 It has lots of teeny working details....the door handles work etc etc.

Anyway...I wish I could get it out of the box....I'm now thinking it needs its own garage to be housed in. Perhaps if I make one my boyfriend might be persuaded to release it from captivity!

Does anyone else know someone who likes to keep things in original condition or are you like me...that you feel the need for it to be played with...complete with "brmmm brmmm" sound effects?

Beep Beep....IndyPoppy

Sunday, September 15, 2013

Internal Walls Are in...well almost all.

 Hello Everybody...
Well we have had another busy weekend with lots of work completed in the Victorian Dollhouse. This week we focused on the internal walls. Many of them had already been pre cut. (You may remember in a previous post that I mentioned that the main parts of the house are from a Ross's Treasure House kit.
The first picture shows the main walls in the original house. There is a 3 small rooms upstairs, with a landing. Downstairs has 3 small rooms also.

This picture shows the basement extension. The smallest room (in the middle) isn't a room at all but will have the basement staircase installed. (You can see this staircase to nowhere at the bottom of the post!)
The tower basement now has two smallish rooms as well. I'm thinking of making the front one the laundry complete with a Copper.  (My Grandmar's house had a copper...that had multiple uses...from washing to cooking)
 This picture shows the doors that I chose to use for the basement. I decided to use plainer doors down stairs. (I actually prefer these to the ones upstairs!)
The tape has been a must have when putting the walls in. The tape has been helping to hold pieces in place. I was amazed to see how much movement can occur. You think you have it sorted, you walk away and then suddenly your wall has moved.
The house with basement stairs to nowhere. Some of the walls I won't put in until I have wall papered. I'm glad I didn't just go glueing in things as quick as possible. There is no way that I could have decorated the bathroom or any of the other tiny rooms without leaving the walls exposed.
My last picture today is of a seasonal visitor to my backyard. This is a male King Parrot. We have up to ten of these birds visit everyday. They have trained us well. They land either on our gutter or on a small table that we have on our deck and squark. Their favourite treat is sunflowers, though we often give them a wild bird mix. One even tried to land on my car parked in the garage this week in search of food. I'm sure I'm not the only one feeding them treats in my street...they probably go from house to house. The female birds arn't nearly as pretty as the males being mostly green.

Have a great week everybody.
IndyPoppy

Saturday, September 7, 2013

Basement Continued and a Thank you.


Firstly I would like to thank everyone for their kind comments on the last post. It was a very hard post to write and I appreciated everyones kind words about Buckley.
 This week has seen some more progress on the victorian house with the second part of the basement started. It has been a fiddly process but I'm happy with it. The tower will have a basement that has two rooms and will be a separate addition to the house. This enables me to pull it out to see the internal rooms.

The right side bay window is beginning to come together also.
 This dormer window was one of the easiest pieces to fit. I wish the same could be said for the right side attic window. It proved to be quite painful!
 Photo of internal bay window. This cutout came with the kit. I think its a cute detail as the original plans have a plain square cutout.
This is a photo of my choice of basement windows. They were super cheap at A$4 for 13!  They seem to be the perfect size also.
 Finally I would like to show you the pictures of the lovely gifts I received. I entered a giveaway at  http://meritannukkis.blogspot.com.es and won this adorable tree. The pictures do not do it justice!

I also won all the items in the next two photos. The beading is wonderful. Merita, thank you for the wonderful gifts.

Well I hope everyone is enjoying the weather. We have had our first few days of Spring which has been marvellous.

Enjoy your week
IndyPoppy